
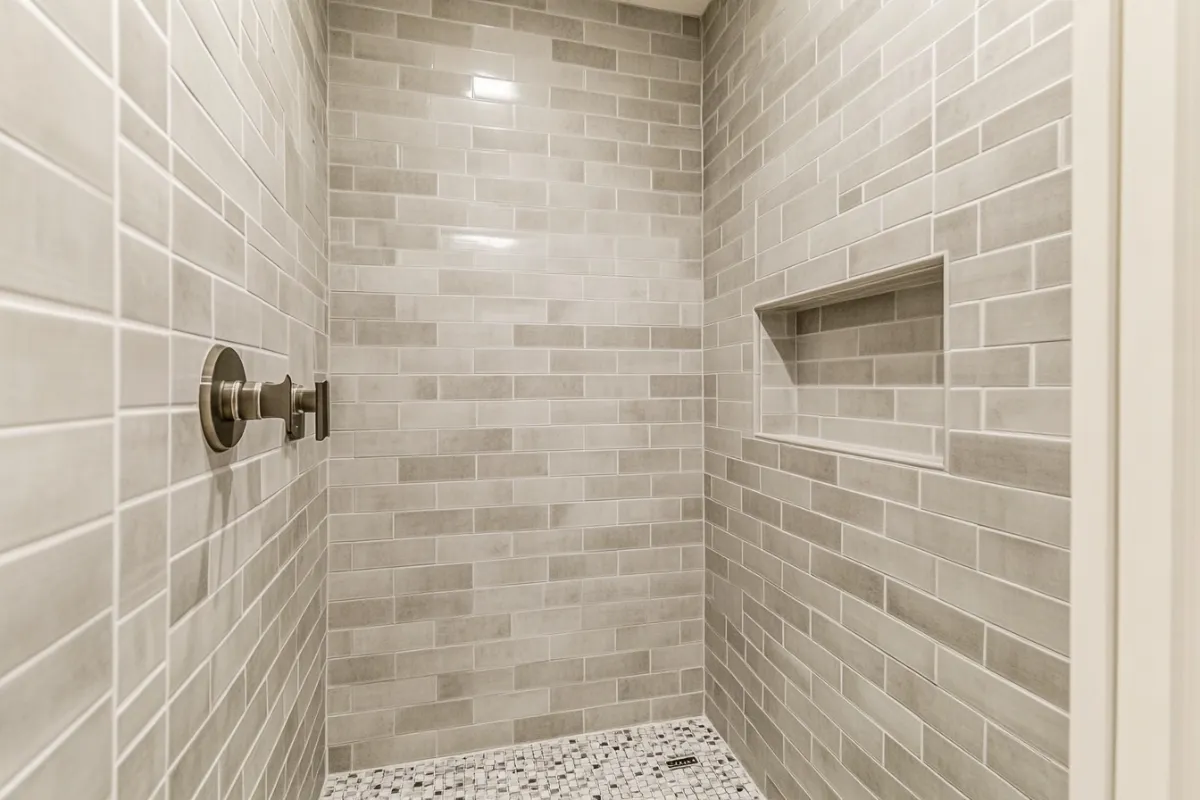
Tile is what you look at every day, so it's easy to think the job is about the tile itself. It isn't, mostly. A beautiful porcelain plank set over a floor that flexes will crack along the grout lines within a couple of years. A stone shower wall on plain drywall will stain from behind and eventually let go. Good tile work is about the layers you never see: a stiff, flat base, the right waterproofing in wet areas, and a layout planned before the first piece goes down. We set a lot of tile in older homes around Petaluma's west side, where floors that have settled over a century need flattening before anything else, and in Sonoma, where homeowners often want natural stone or handmade tile that takes extra care to set well.
Free Estimate
Rather talk? Call (707) 873-7591
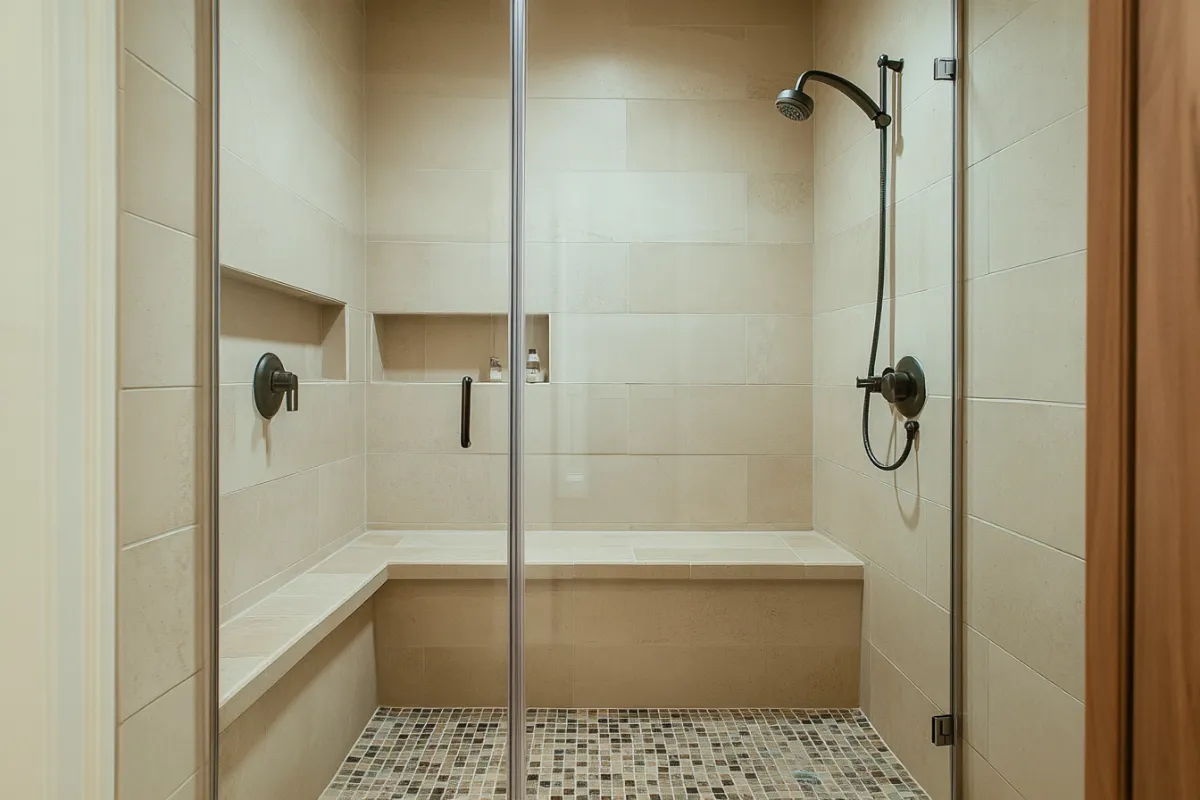
Here's what this page covers: the signs your current tile has failed, how porcelain, ceramic and natural stone compare in a bathroom, the base each kind of tile needs underneath, and how we plan a layout. If the tile is failing because the shower behind it leaked, our shower remodels and walk-in showers page explains how we rebuild from the drain up.
When Old Tile Has Reached Its End
Cracks are the obvious sign, but where they run tells you why. A crack that follows a straight line across several tiles usually means the floor underneath is moving, often from joists that are too far apart or a subfloor that's too thin. A single cracked tile is more likely damage from something dropped. Loose tiles that rock or sound hollow have lost their bond with the mortar. Grout that powders out of the joints or keeps going dark in the same spots is letting water through. In a shower, tile that's bulging slightly on the wall is a bad sign, since it usually means wet drywall or rotted backing behind it. And older tile set in a thick mortar bed can be solid for decades, then suddenly develop a fine web of cracks when the bed finally breaks down. At that point, regrouting won't hold.
Porcelain, Ceramic or Natural Stone
These three materials behave very differently around water. Porcelain is the densest. By industry standard, it absorbs no more than half a percent of its weight in water, so it holds up in showers and on floors without sealing the tile itself. Ceramic is softer and more porous, easier to cut, and fine for walls and dry areas, though less suited to a shower floor. Natural stone, like marble, travertine or slate, looks beautiful but needs care. It's porous, so it has to be sealed when it's installed and resealed over time, and marble etches if acidic cleaners touch it. For bathroom floors, slip resistance matters as much as looks. Tile sold for wet interior floors is rated by how much grip it has when wet, and smaller tiles help too, since more grout lines mean more traction underfoot. Handmade tile, like zellige, has natural variation in color and edge that's part of its charm.
What Goes Underneath
Every tile job is only as strong as its base. On floors, the subfloor has to be stiff enough that it doesn't flex when you walk across it, or the grout will crack. Sometimes that means adding a layer of plywood, and on older floors it often means flattening dips and humps first. Over that, we usually set an uncoupling membrane, a thin mat that lets the subfloor move a little with the seasons without cracking the tile above it. In showers and around tubs, tile goes over cement board or foam backer board, never plain drywall, with a waterproof membrane covering every surface the water can reach. Large tiles need a flatter surface than small ones. Any tile with a side 15 inches or longer is considered large format, and it needs a near-perfectly flat base so the edges of neighboring tiles line up evenly.
Planning the Layout Before the First Tile
Layout is where good tile work separates from average. We start by finding the center lines of the room and the shower and dry-laying a row to see where the cuts will land. The goal is to avoid thin slivers at a wall, in a doorway or at the edge of the shower, since those look like mistakes even when they aren't. If a layout leaves a half-inch strip along the most visible wall, we shift the whole pattern. Grout joint width, tile direction and where a pattern starts all get decided ahead of time. In showers, we plan niches and benches so they line up with full tiles or clean cuts. Grout color matters as well. A grout close to the tile color makes the surface calm and hides minor variation, while a contrasting grout makes every line stand out.
If tile is part of a bigger project, our bathroom remodeling page explains how a complete remodel comes together.
Common Questions
Sometimes, but we rarely recommend it in a bathroom. Tiling over tile only works if the old layer is completely solid, flat and bonded, and you can't see what's under it. It also raises the floor height, which can cause trouble at the door, the toilet flange and the tub edge. In a shower, it's a bad idea, since the old waterproofing stays in place. Removing the old tile lets us check the base and fix it properly.
For most floors and showers, we prefer a modern high-performance cement grout or an epoxy grout. Standard cement grout is porous and has to be sealed to resist stains. Epoxy grout is nearly stain-proof and doesn't need sealing, but it's harder to install and costs more, so it's often saved for shower floors and other wet spots. Whichever you choose, a slightly darker color hides everyday wear better than bright white.
Plan on a few days after the last tile goes in. The thinset mortar and grout both need time to cure, and the exact wait depends on the products used and the conditions in the house. Glass usually goes in after that, and some sealers need their own drying time. We'll give you the date you can shower again before work starts, so you can plan around it.